Creating a New Project
To create a simple project, follow these steps after starting Eclipse*:
- From the Eclipse File
menu, select New > Project.
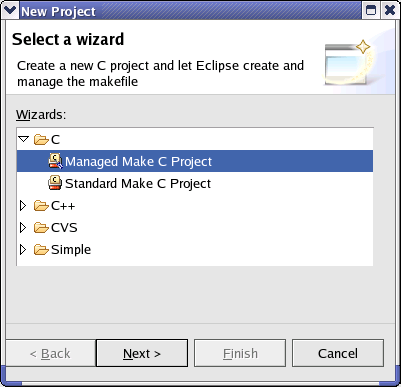
The New Project wizard opens with
the Select a wizard dialog to
specify the kind of project you want to create. From the Wizards list,
select C > Managed
Make C Project. Click Next
to proceed. See also Standard and Managed
Make Files.
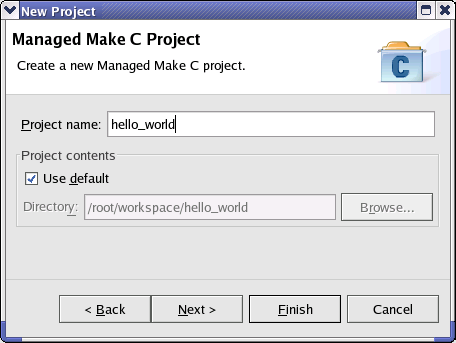
- For Project name,
type hello_world. Check the Use
default box or specify a directory for
your Managed Make C Project. Click Next
to proceed.
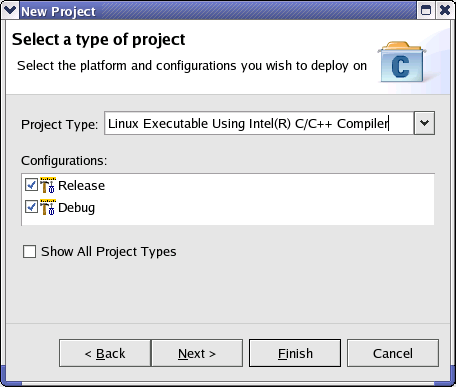
- From the Select
a type of project dialog, select Linux
Executable Using Intel(R) C/C++ Compiler from the Project
Type drop-down list. Check the Release
and Debug configuration boxes.
Click Next to proceed.
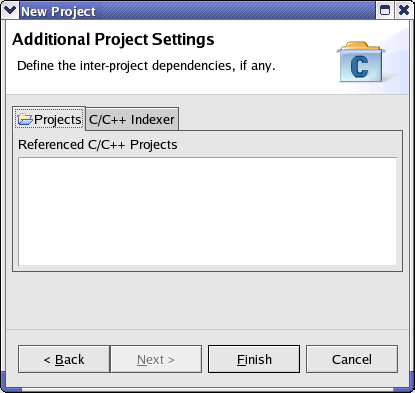
- The Additional Project
Settings dialog lets you create dependencies between your new project
and other existing projects. This sample project has no dependencies on
other projects. Click Finish to
complete creation of your new hello_world project.
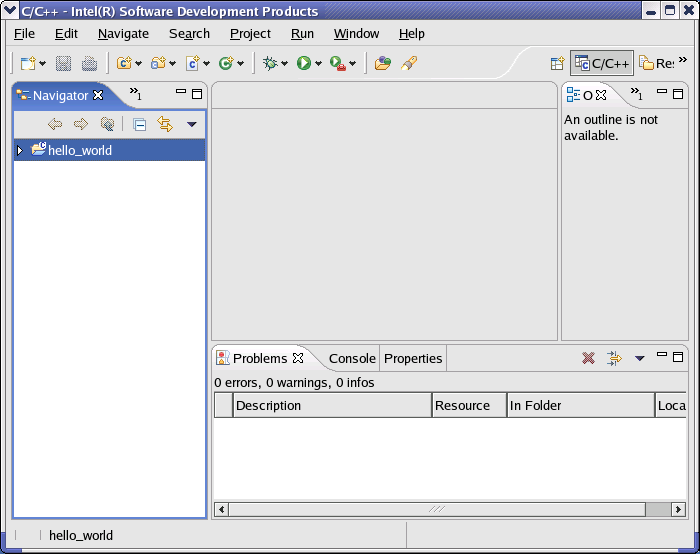
- If you are not currently in the C/C++
Development Perspective, you will see the Confirm
Perspective Switch dialog. Click Yes
to proceed. In the Navigator view,
you should now see an entry for your hello_world
project.
The next step is Adding a C Source
File.